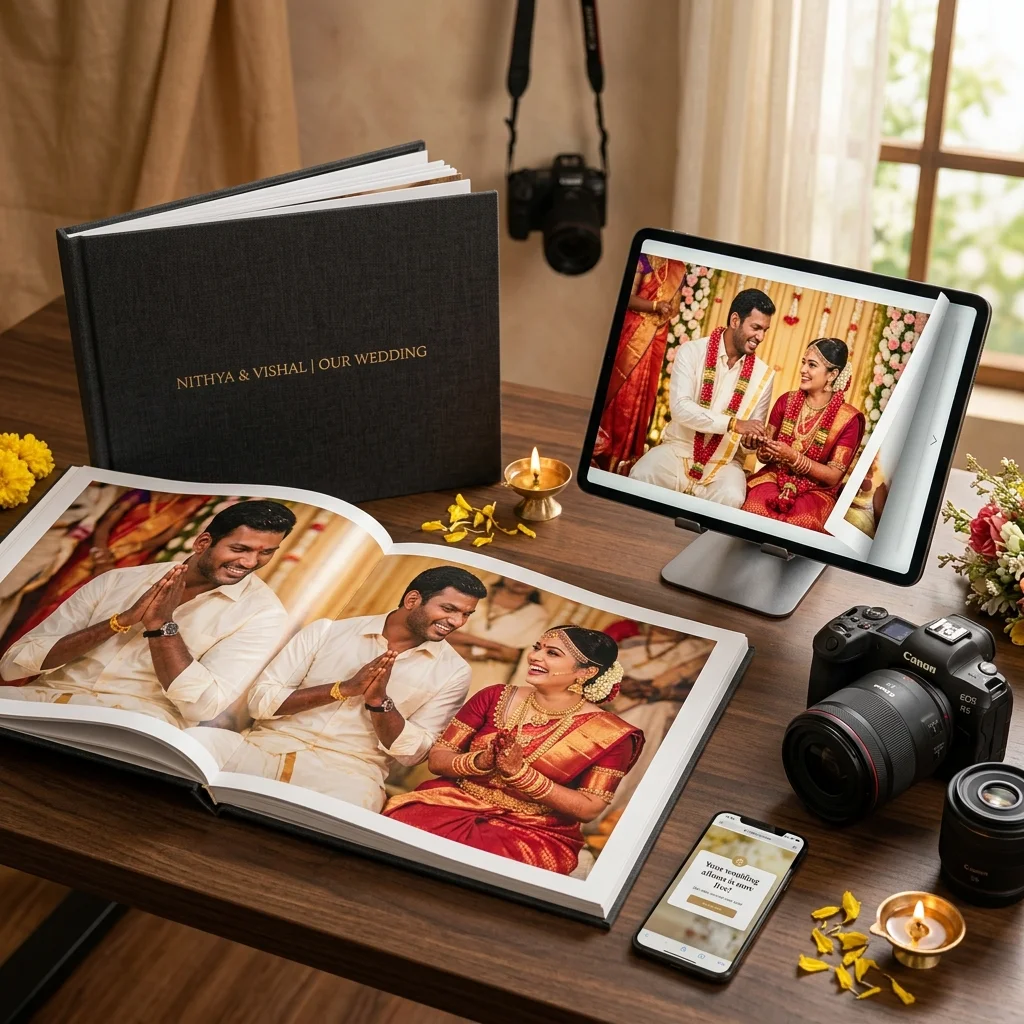
The wedding is shot, the client has chosen their photos, and the designer has finished the album spreads. The printed album will take a while longer. A digital e-album lets the couple see the finished album now - on their phone, as a book they can turn page by page - and share it with family who will never hold the physical copy.
This guide walks through the practical workflow: preparing the final pages, creating the e-album, putting pages in the right order, keeping it in draft while you work, publishing it, and checking it before the link goes to your client.
How do you create a digital wedding album for a client? Export the designed album pages as images, create an e-album for the wedding event, upload the pages, and drag them into the correct order. Keep the album in draft while you work. When every page is checked, publish it and share the album link with your client - they open it in a browser, without logging in.
What Is a Digital Wedding e-Album?
A digital wedding e-album is an online version of the designed wedding album, viewed as a page-flip book in a web browser. Instead of a folder of separate photos or a PDF, the client sees the album the way the designer laid it out, one page after another, and turns pages like a book.
It is different from a photo gallery. A gallery holds every photo from the event for browsing, selection, or guest downloads. An e-album holds only the finished album pages, in a fixed order, as a single story. If you are deciding between a flipbook and a PDF in the first place, why photographers are moving from PDFs to flipbooks covers that choice. This guide assumes you have decided and want to build one.
When to Use an e-Album
The e-album sits at the end of the post-wedding workflow:
- The wedding is shot and the photos are delivered to the gallery.
- The client selects their album photos - see how package-based selection limits work.
- The designer lays out the album pages.
- You publish the e-album and share the link.
- The printed album follows.
Common reasons to publish one:
- Album approval - the couple can review the designed pages before printing.
- Family who live far away - relatives in another city or country see the album without waiting for a printed copy.
- A digital keepsake - the couple keeps a link they can open and share whenever they want.
Step 1 - Prepare the Final Album Pages
Each page of the e-album is one image file. Before you open the e-album editor, get the pages ready:
- Export each page as JPEG, PNG, or WebP. These are the formats the e-album accepts. Each file can be up to 20 MB.
- Keep the same size and orientation for every page. Mixed sizes make the book look uneven when the pages turn.
- Name the files in page order - for example 01-cover.jpg, 02.jpg, 03.jpg. It makes the uploaded order easier to check.
- Use the final, approved design. Proof versions with designer notes or watermarks should not go into the album the client will share.
- Decide on the cover. The first page is shown as the cover when the album opens, so the first file should be the page you want the client to see first.
Step 2 - Create the e-Album for the Event
In MyPhotoStudio, the e-album lives inside the event. Open the wedding event in your studio dashboard and find the e-Album (Digital Page-Flip Book) section. If no e-album exists yet, click Create e-Album.
Each event has one e-album. It is created in draft status, so nothing is visible to the client until you choose to publish it. The e-album software for photographers is part of the same event workflow as the gallery and client selection - there is no separate tool to set up.
Step 3 - Upload the Pages
Drag and drop the page files onto the upload area, or click to browse and select them. You can upload many pages at once. Each new page is added after the pages already in the album and appears in the page grid with its page number.
If you upload in more than one batch - for example, the cover and first spreads now, the rest later - the later pages are added at the end. You fix the order in the next step.
Step 4 - Arrange and Reorder the Pages
The page grid shows every page as a thumbnail with its page number. To move a page, drag its thumbnail to the right position in the grid. The new order is saved when you drop it.
To remove a page - a duplicate, a wrong version, or a page the designer has replaced - click the delete button on its thumbnail and confirm. Deleting a page cannot be undone, so upload the replacement page and drag it into place.
Go through the grid from first to last page once more before moving on. Check that the cover is page 1 and that the pages follow the story order.
Step 5 - Keep It in Draft While You Work
Draft is the working state of the e-album. While the album is a draft:
- You can upload, reorder, and delete pages freely.
- No shareable link is shown in the editor.
- Anyone who opens the album address sees a message that the album has not been published yet.
The status badge at the top of the e-album section shows whether the album is Draft or Published, along with the page count. Leave it as a draft until every page is final.
Step 6 - Publish the e-Album
When the pages are complete and in order, click Publish. An album cannot be published empty - it needs at least one page.
Once published, the e-album section shows a Shareable Link with a Copy button. The link is unique to this album. It is not linked from your public galleries, so only people you send it to will know the address.
If you need to make changes after publishing, click Unpublish. The album returns to draft and the link shows the "not published yet" message until you publish it again. When you republish, the album keeps the same link, so the address you already shared with the client still works.
Step 7 - Check the Album Before You Share It
Open the shareable link yourself before sending it to the client. Use this checklist:
- Cover - the album opens on the page you intended as the cover.
- Page count - the counter shows the number of pages you expected.
- Order - turn through every page and confirm none are out of sequence.
- Duplicates and missing pages - no page appears twice and none are missing.
- Final versions - no proof marks, designer notes, or old revisions.
- Phone check - open the link on a phone as well, since that is how many clients will view it first.
If anything is wrong, unpublish, fix it in the editor, and publish again.
Step 8 - Share the Link With Your Client
Copy the shareable link and send it to the client the way you normally communicate - message, email, or alongside your album delivery note. The e-album is not sent automatically; you decide when the client receives it.
A short note with the link helps: tell the client this is their digital album, that they can share the link with family, and when the printed album will be ready.
What the Client Sees
The client opens the link in their browser. There is no app to install and no login for a published album. The album opens on the cover, and the page-flip viewer lets them:
- Turn pages with the previous and next arrows, or by clicking the page.
- Use the keyboard arrow keys on a computer.
- See which page they are on with the page counter.
- Switch to fullscreen with the fullscreen button.
The browser tab shows the album name, together with your studio name.
Common Mistakes to Avoid
- Publishing before the pages are final. Keep the album in draft until the design is approved.
- Uploading pages out of order and not checking the grid. Always review the page order before publishing.
- Mixing page sizes. Export every page at the same size and orientation.
- Deleting a page without its replacement ready. Deletion cannot be undone - have the new file ready first.
- Sending the link without opening it yourself. Run the checklist in Step 7 every time.
The Complete Workflow at a Glance
Wedding delivered to the gallery - client selects album photos - designer finishes the pages - export pages as images - create the e-album in the event - upload pages - drag into order - keep in draft until final - publish - check the link - share it with the client.
To see everything the e-album includes, visit the e-album software page.
Want to publish your next wedding album online?
We will walk you through creating and publishing your first e-album - direct conversation with our founder, no forms, no wait.
WhatsApp Us to Get StartedRelated Reading
- Digital Wedding e-Album India: Why Photographers are Switching from PDFs to 3D Flipbooks
- Album Photo Selection Limit for Wedding Packages
- e-Album Software for Photographers
- Wedding Album Sharing Software for Photographers
Transform Your Photography Studio Today
Start automatically delivering thousands of event photos directly to your clients using MyPhotoStudio's AI Face Recognition - from ₹1,000 per event.
Start Free TrialLearn about our photography CRM software or view pricing plans.